All Outfits and How to Get Them
Published 2026-09-257 min read
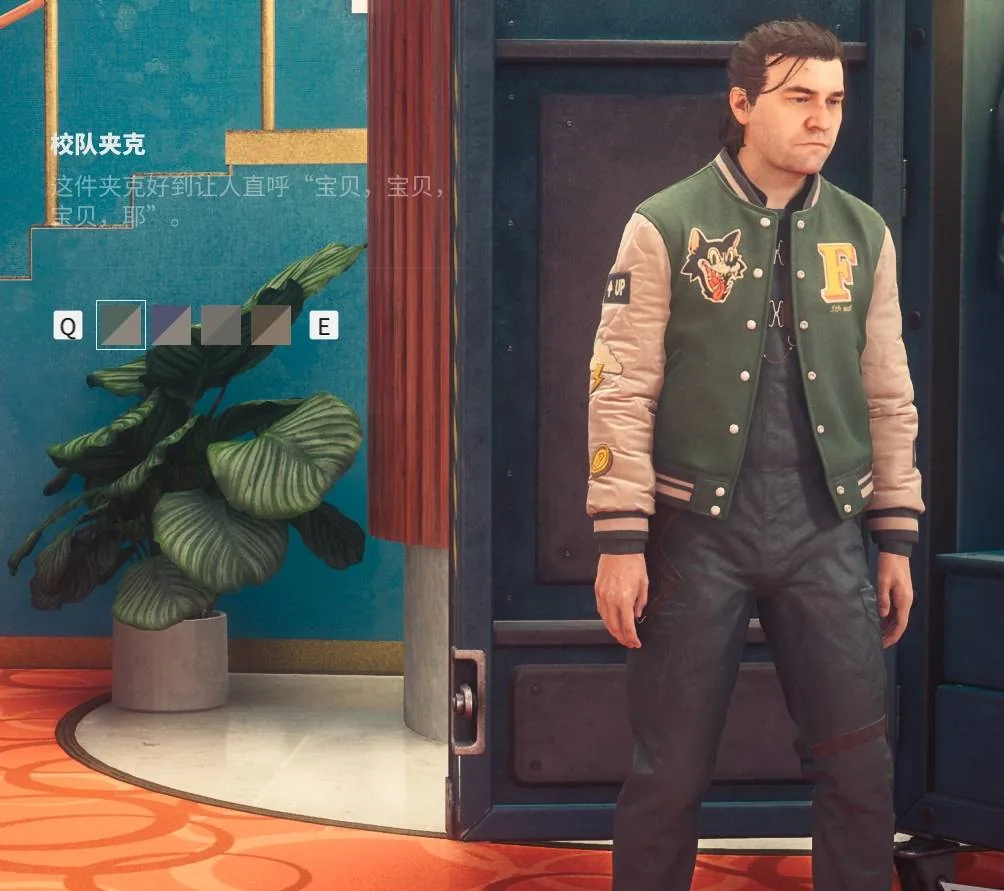
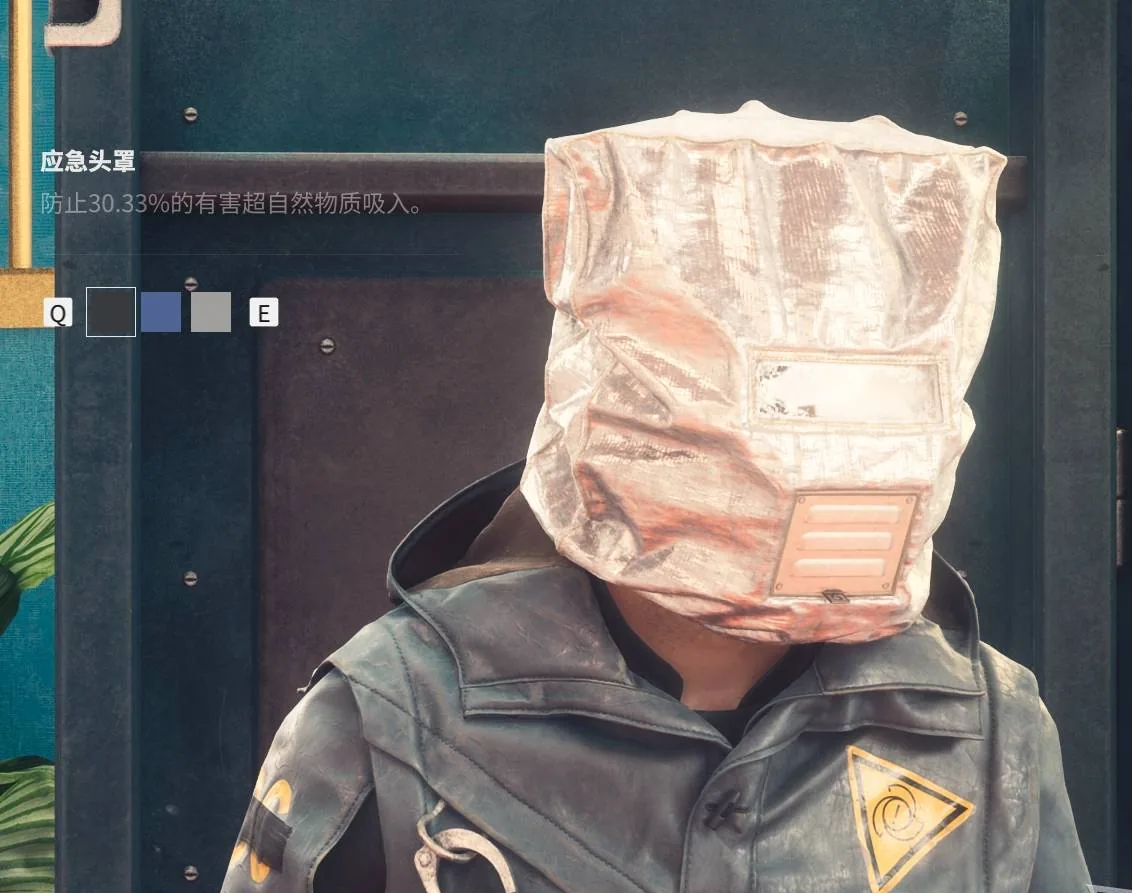
Every outfit in Control: Resonant and how to unlock it, with the full Through the Threshold walkthrough that earns the Sensory Restraint Hood.
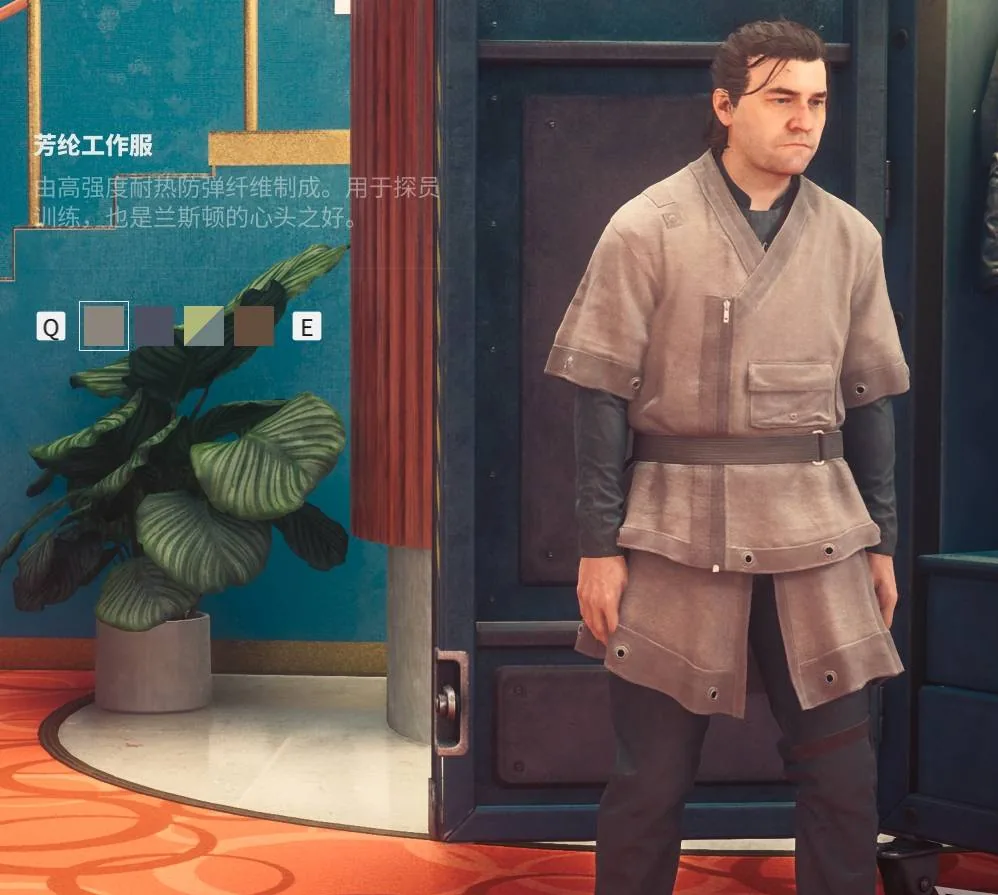
Outfits in Control: Resonant come from side stories and from grinding zone levels, and at least one reward depends entirely on a dialogue choice you make near the end of a quest. This guide lists every outfit with a confirmed unlock path and walks through the full side story that hands you the game's head-slot gear.
Confirmed Outfits
| # | Outfit | How to Get |
|---|---|---|
| 1 | (not yet documented) | Complete the side story "Ring Prison Service Request" |
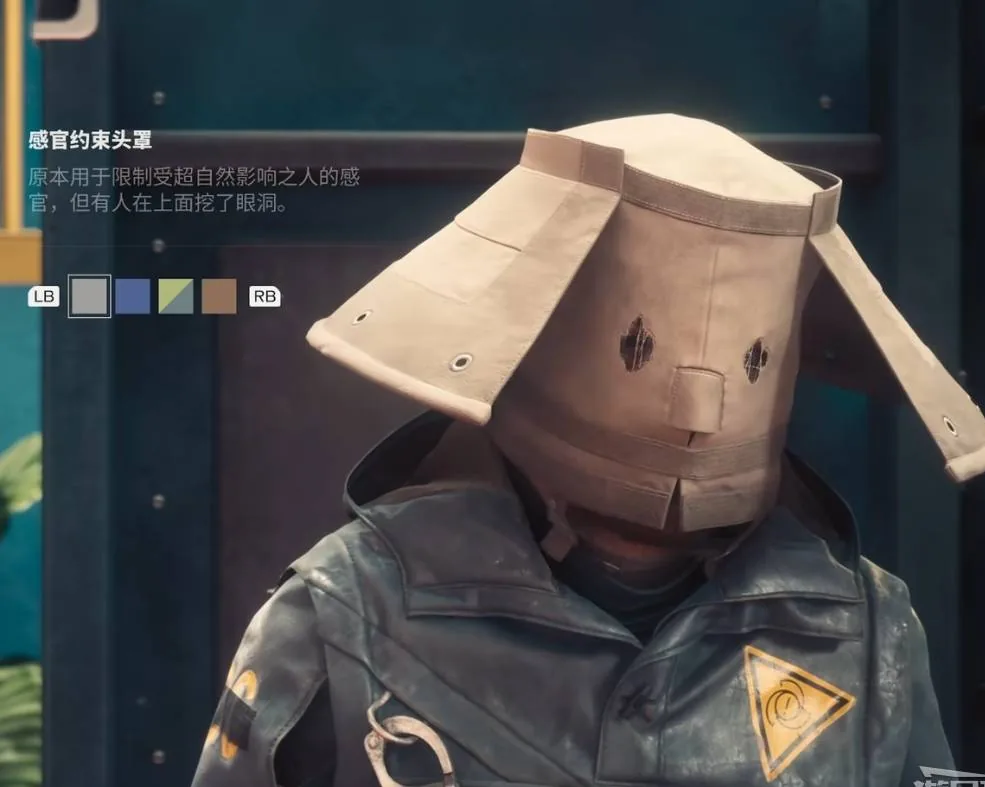
| 2 | Sensory Restraint Hood | Finish "Through the Threshold" and choose to trust Wilson — details below |
| 3 | (not yet documented) | To be confirmed |
| 4 | (not yet documented) | To be confirmed |
| 5 | (not yet documented) | To be confirmed |
The source guide was published in progress, so three slots have no confirmed method yet — this page updates as they are documented. The unlocks above are the ones with verified paths.
Through the Threshold — Full Walkthrough
This side story is the only confirmed source of head-slot clothing, and its ending hinges on one decision. Here is the complete route.
Starting the Side Story
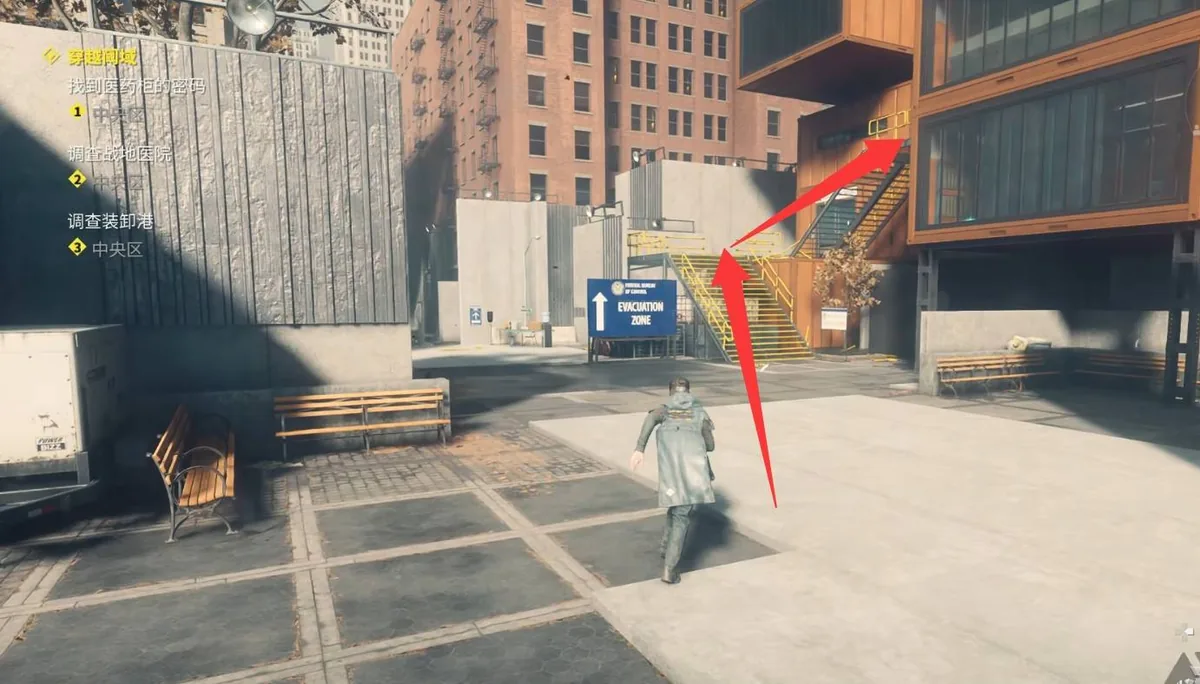
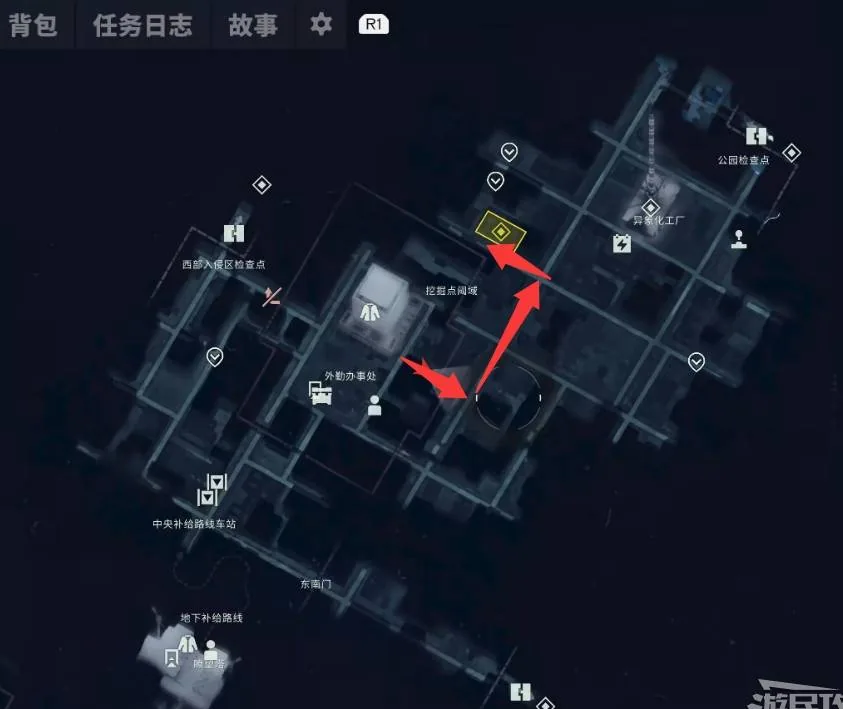
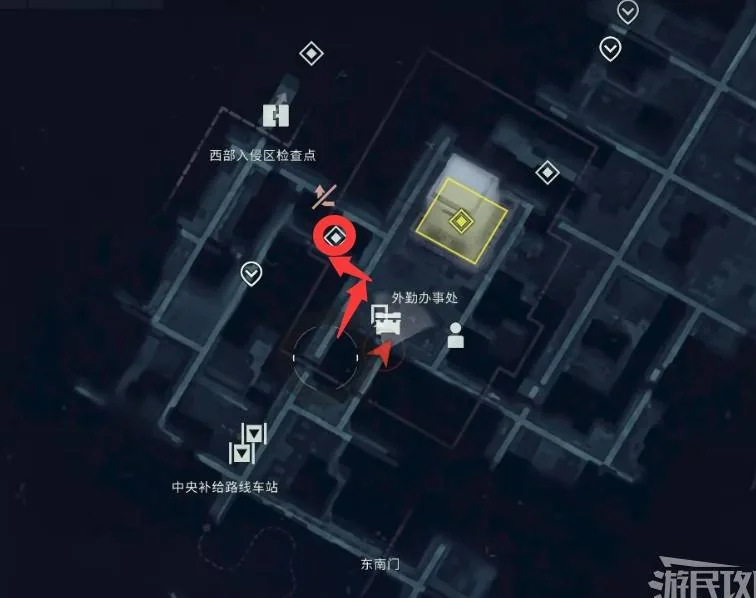
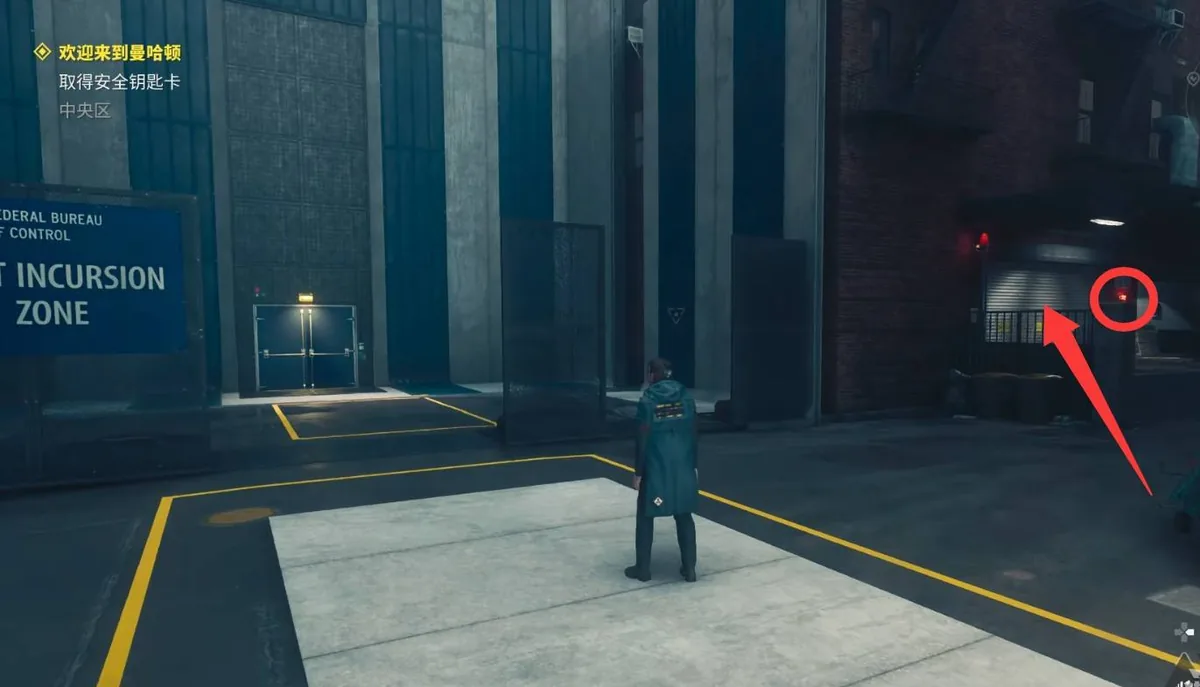
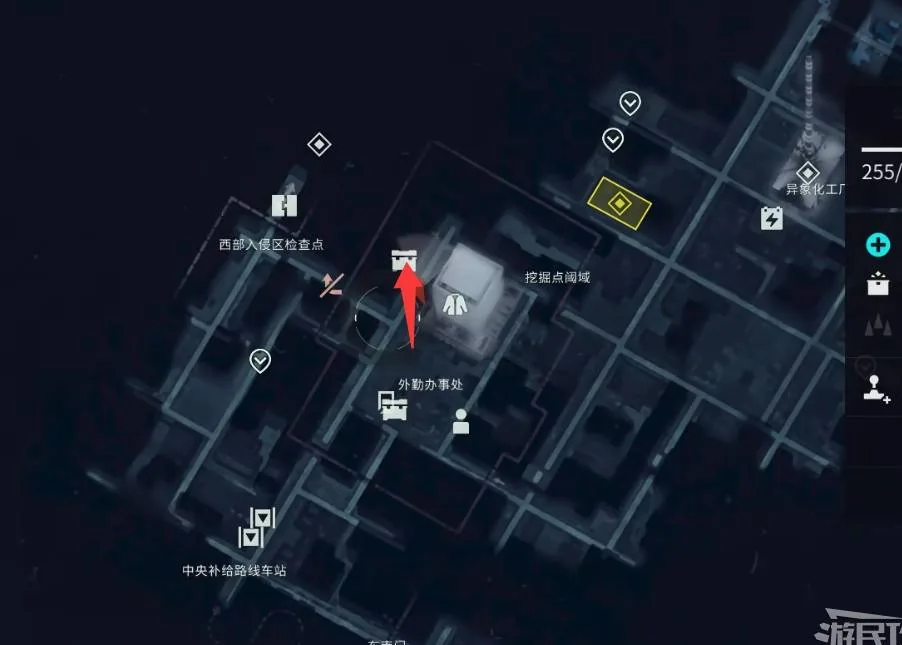
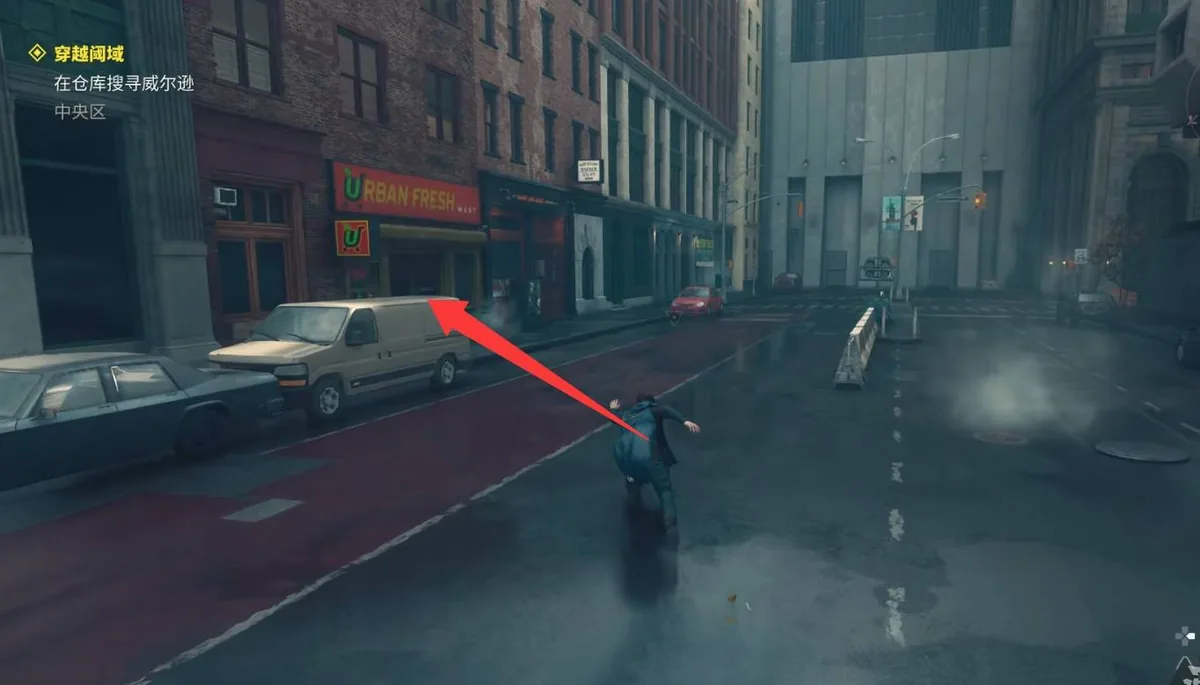
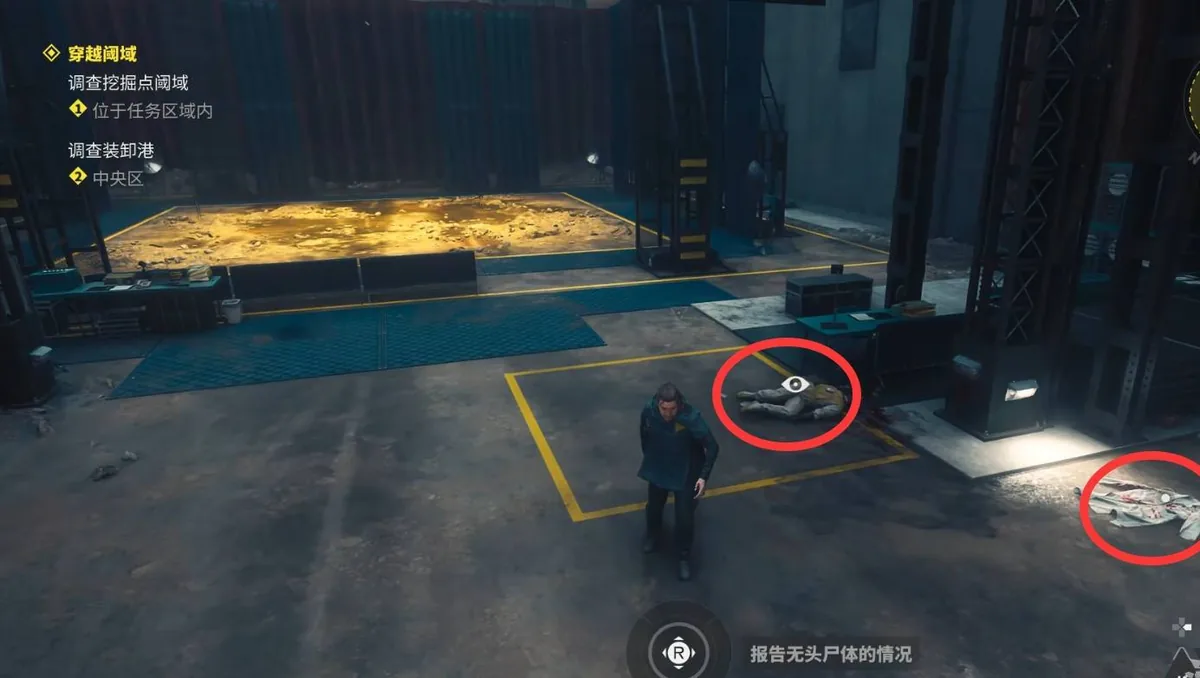
West of the Central District Field Office, next to the door leading toward the Western Incursion Zone, you will spot a roller shutter. Destroy the breaker beside it to raise the door, go in, and examine the headless corpse. That examination starts Through the Threshold.
Gathering the Evidence
- Pop into the convenience store nearby for a Health Upgrade Point while you are in the area.
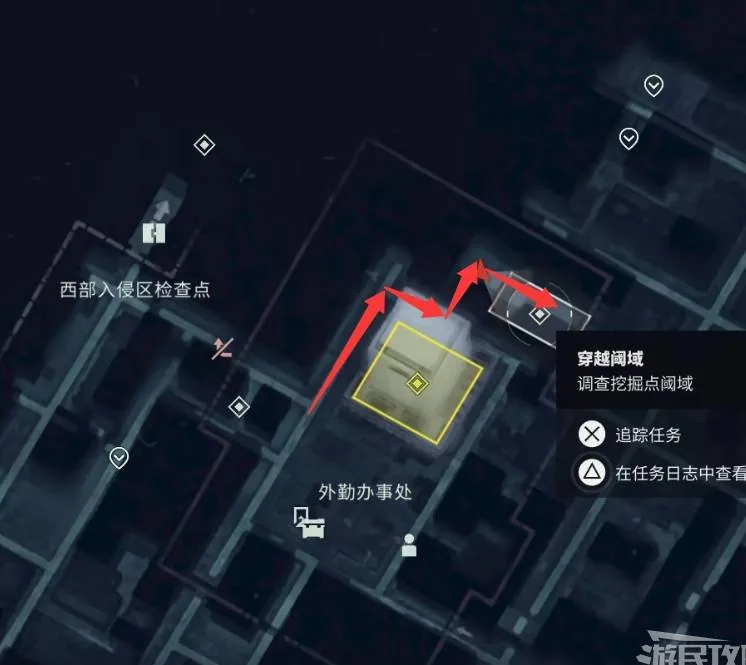
- Head to the excavation-site threshold behind the Field Office and examine another headless corpse — it carries the Threshold Expedition keycard. Clothes, documents, and a recording lie nearby.
- Jump up through the opening, open the door inside, and collect more documents and another recording.
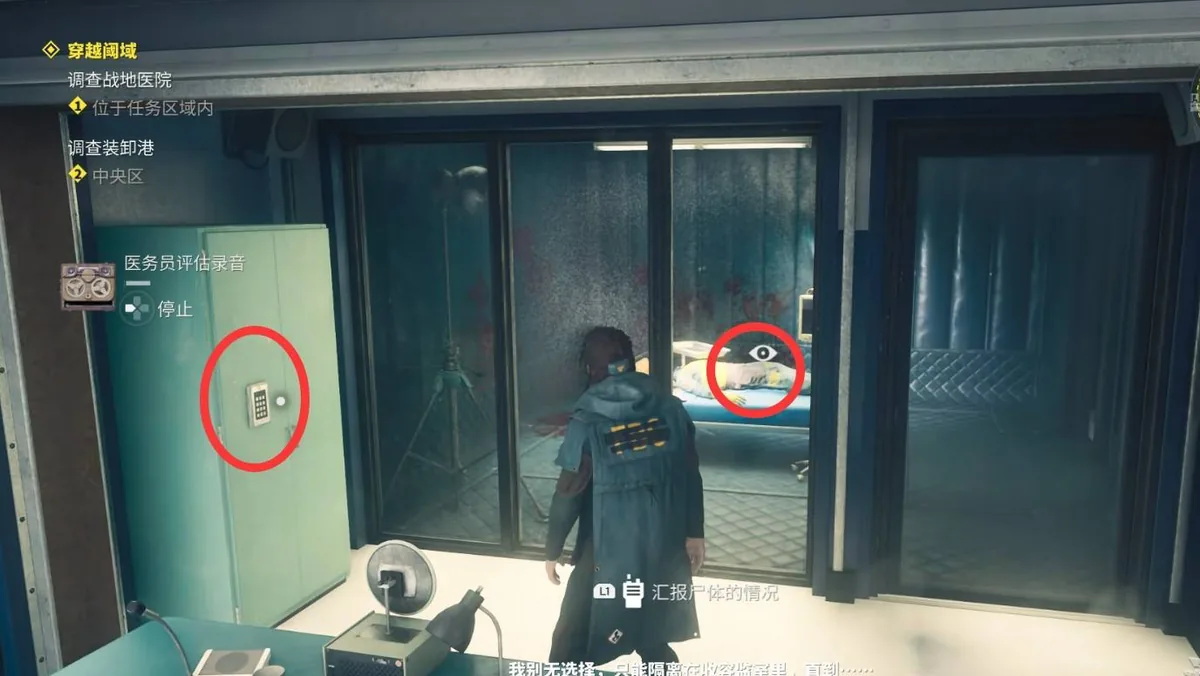
- Move to the Field Office's field hospital. Examine the corpse and listen to the recording there. The medicine cabinet wants a code.
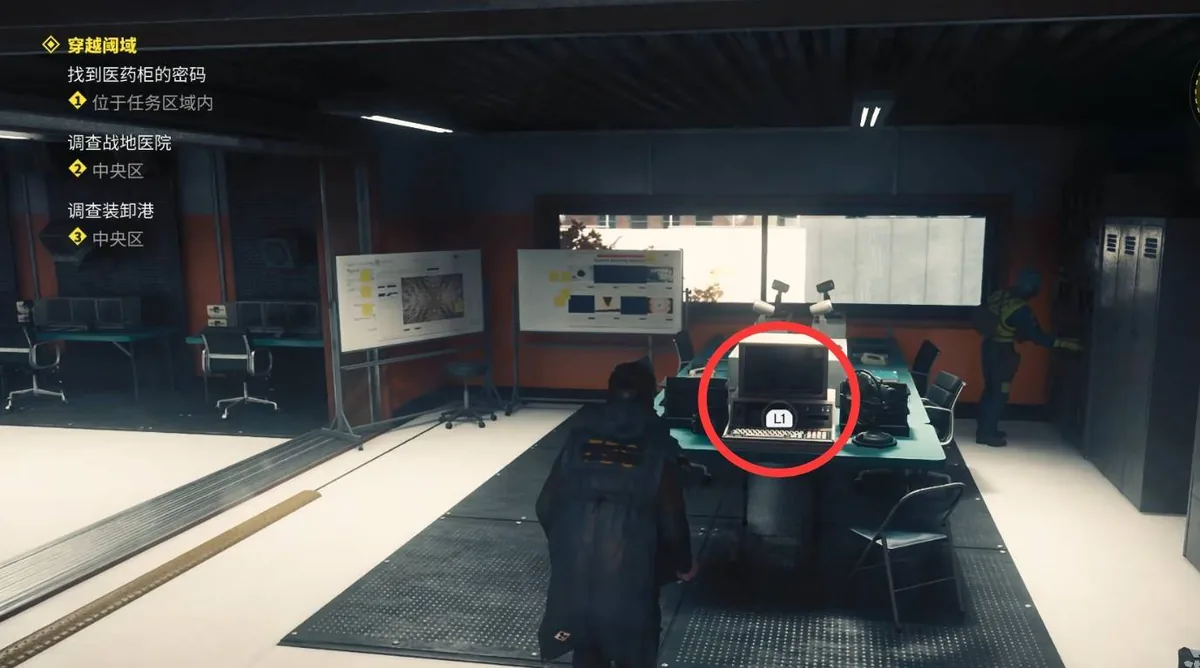
- The code lives in the security station next door. Go upstairs, open the computer, and page through it — the code registers automatically. Return to the hospital and open the cabinet to take the Quarantine List.
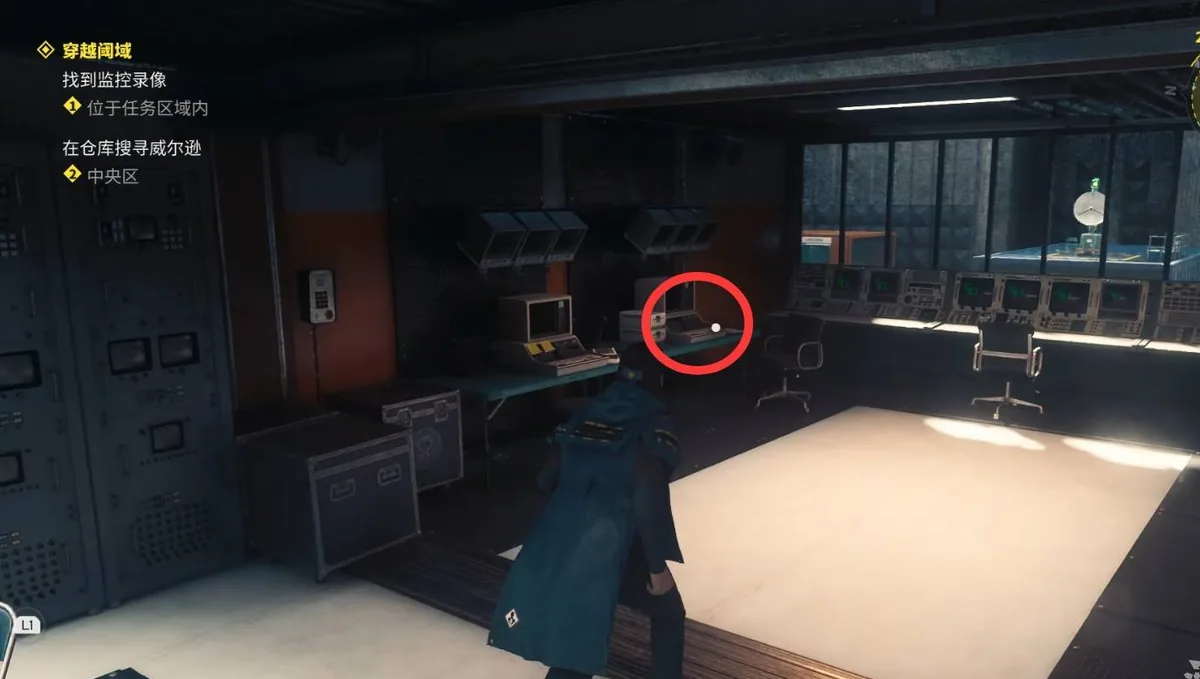
- Go back to the original headless corpse and examine the surveillance equipment, then use the second computer upstairs in the security station to review the footage.
Into the Warehouse
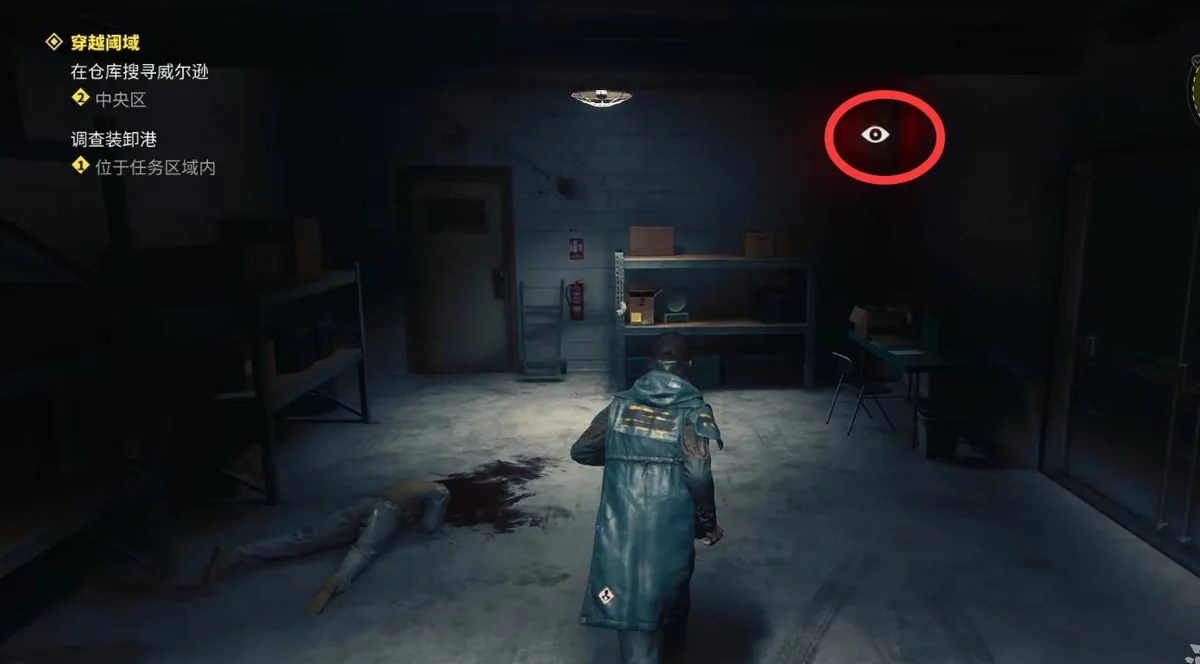
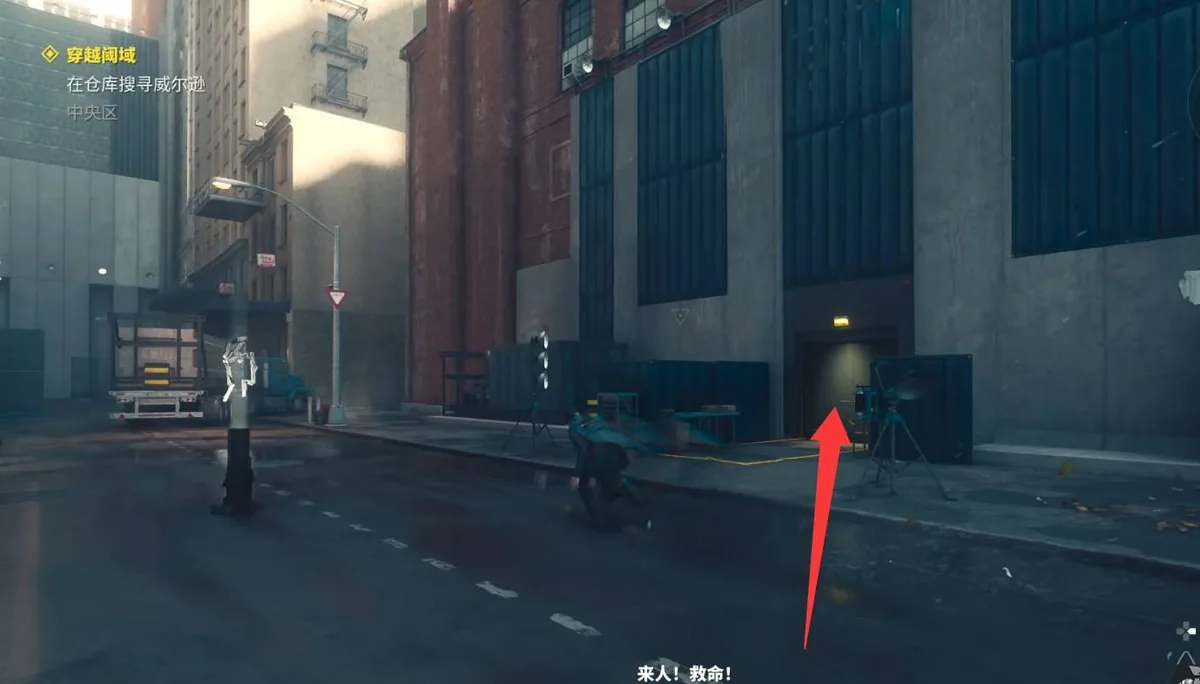
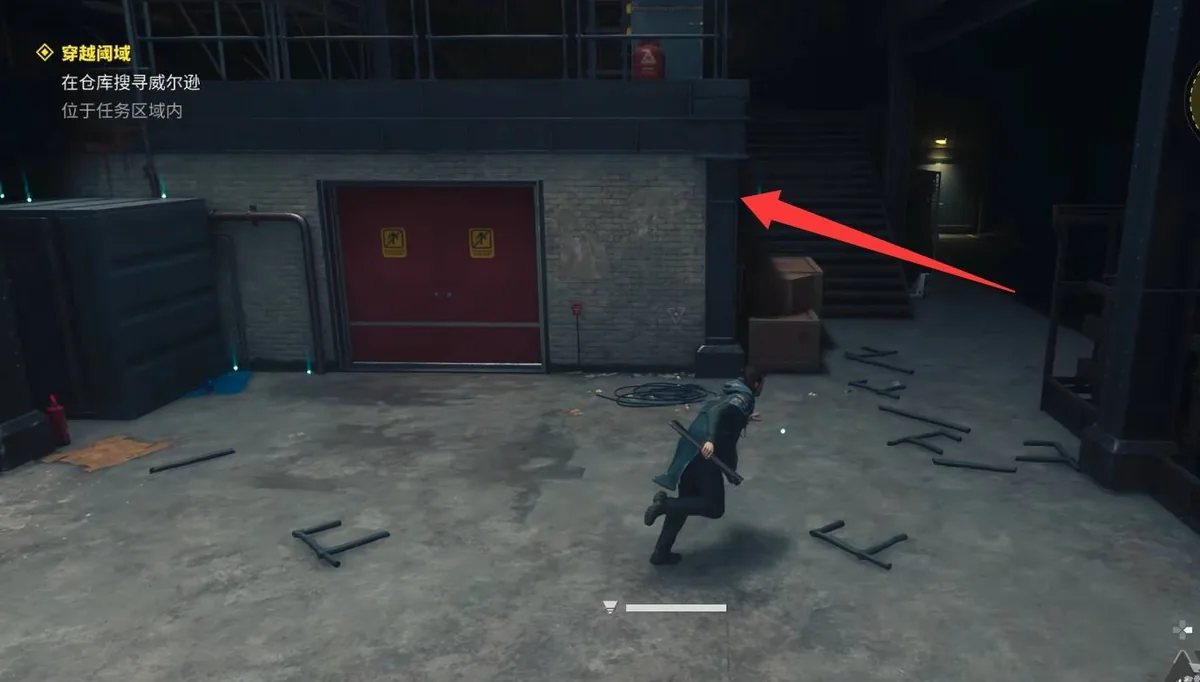
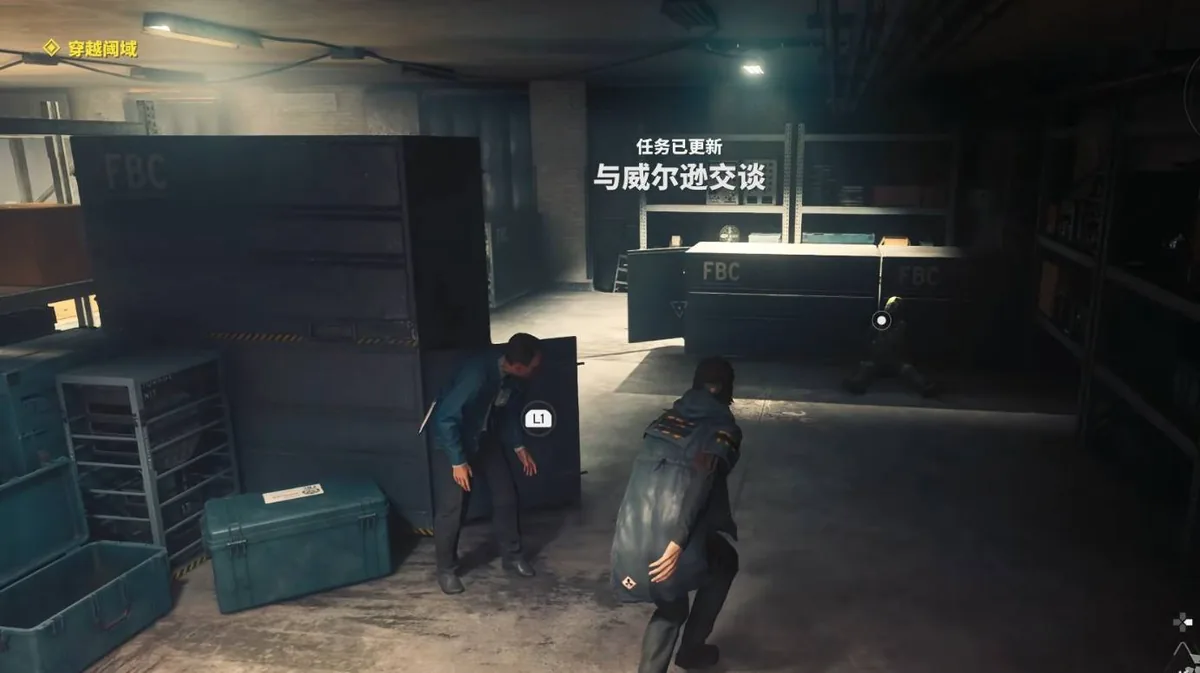
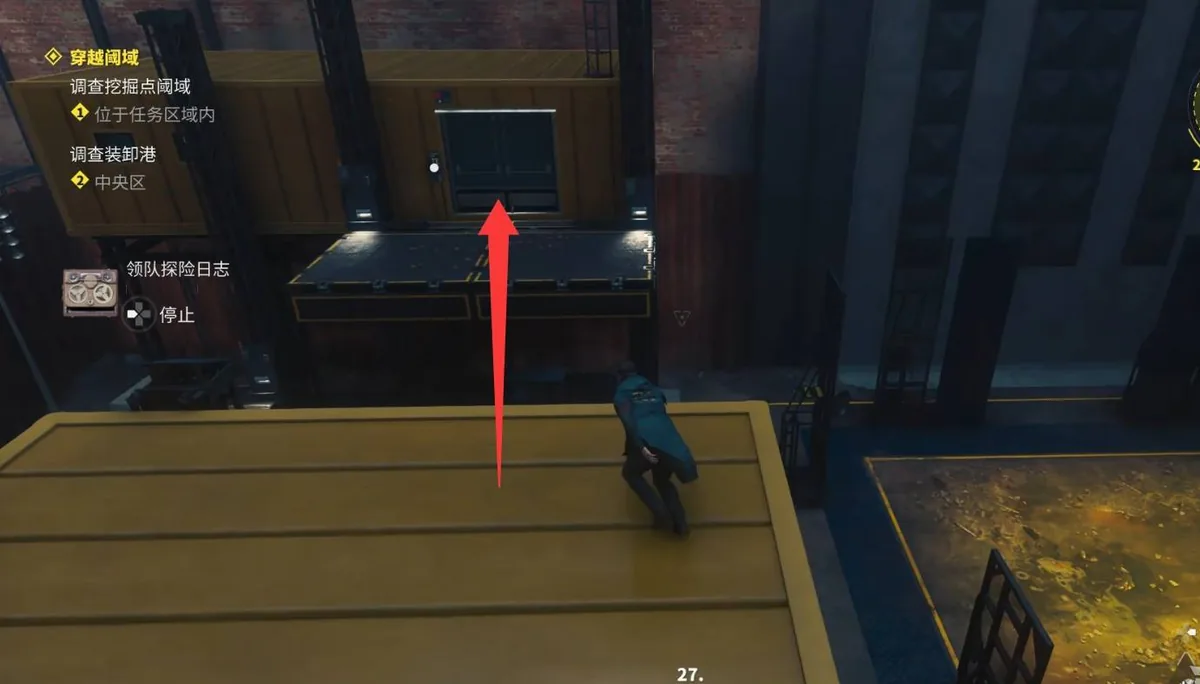
With the evidence gathered, take the east door out of the Field Office into eastern Central District. For story continuity, make the warehouse your first stop: open the marked door, clear the enemies inside, and ignore the red door — it will not open. Instead, go through the door behind the staircase, where you will find a body and Wilson himself.
The Choice That Matters
When Wilson begs you to stand down, pick "Calm down, I trust you" followed by "I'll take him with me". Trusting Wilson and refusing to force the creature into containment is the only way he survives. Push the capture anyway and the wounded man on the floor dies on the spot, while Wilson vanishes in an instant.
Claiming the Rewards
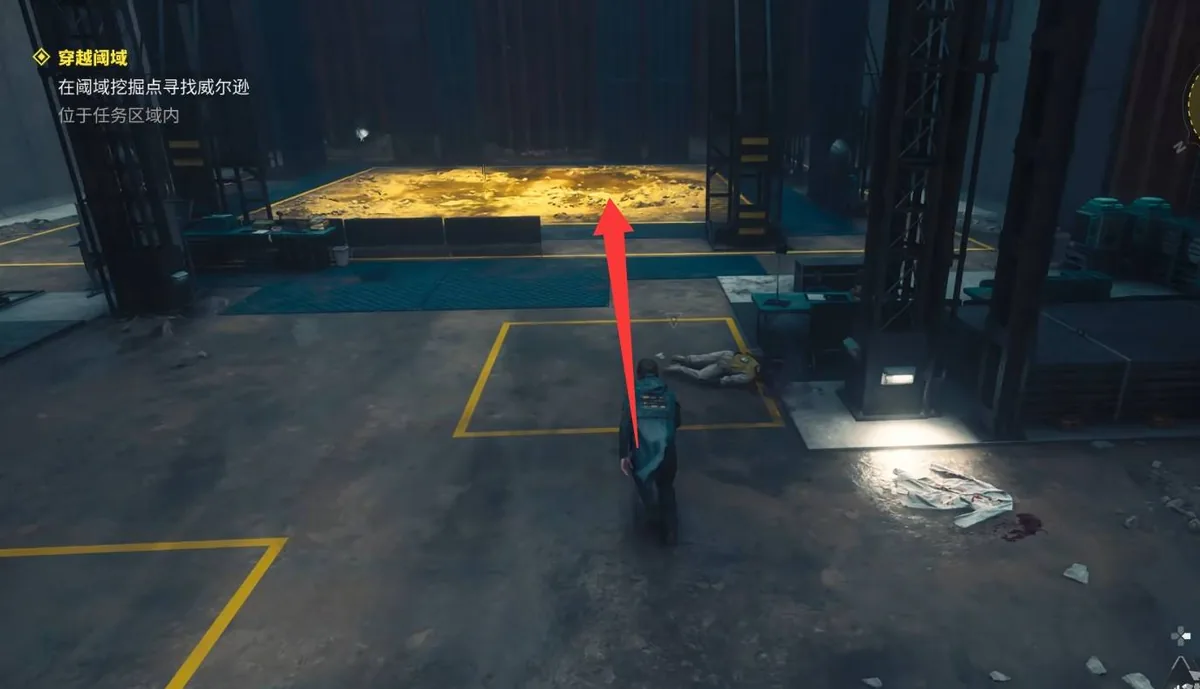
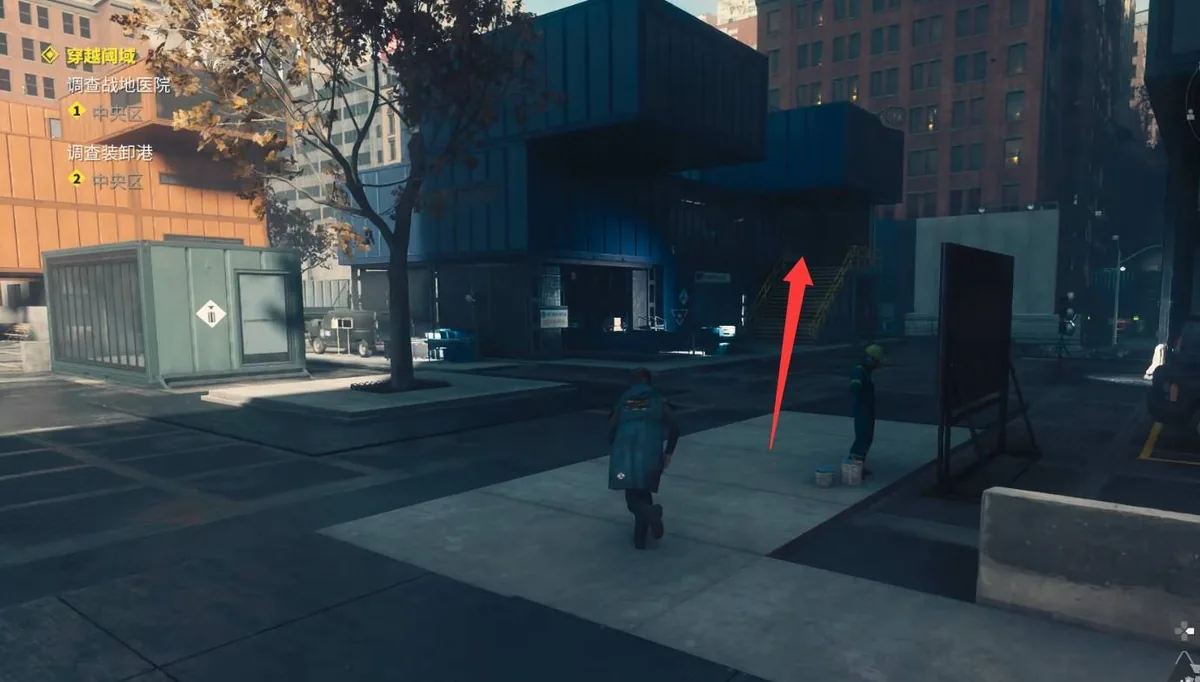
Bring the creature to the excavation-site threshold and herd it into the yellow zone. Success pays out the Practice Knot charm and the Sensory Restraint Hood outfit. If you ignored Wilson's plea, the yellow zone holds his corpse instead.
The Trophy Bonus
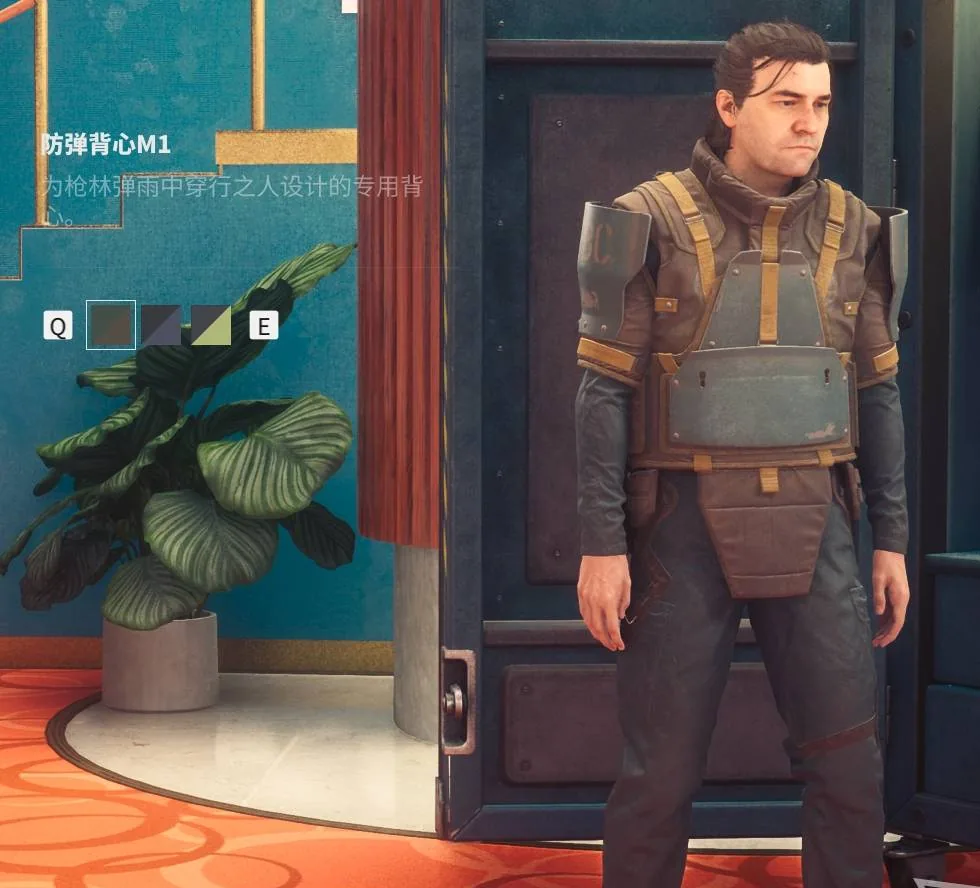
The Hood gives you your first head-slot item — and that is exactly what the Casual Outing trophy wants. Open the wardrobe and equip one item of every clothing category to unlock it on the spot.