How to Get Large Resource Crates
Published 2026-09-256 min read
Where to find Large Resource Crates in Control: Resonant — the clearance-02 storage by the Field Office and the charged-block puzzle in the Anomaly Factory.
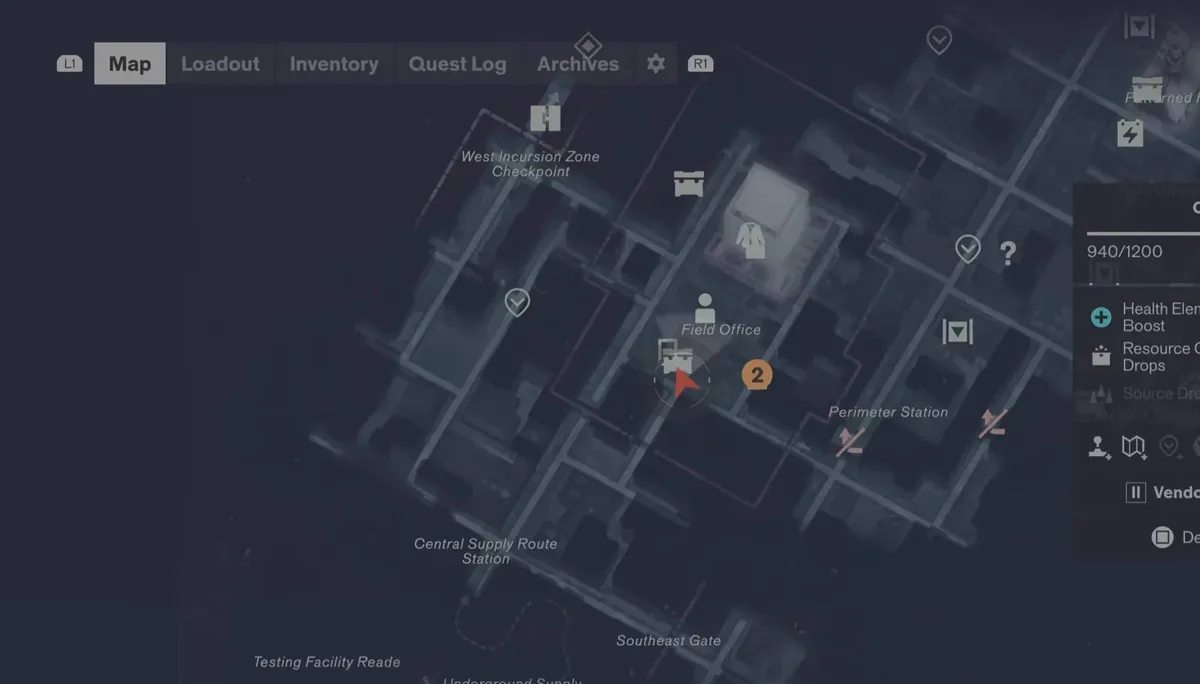
Large Resource Crates in Control: Resonant are containers worth a detour. A standard resource crate spills materials; a Large Resource Crate holds one of Dylan's permanent stat upgrades. The one in Central Zone 6 sits seconds from the Field Office, but a locked storage door keeps most players from grabbing it on their first pass through the area.
The short version: reach the Research & Collection Storage beside the Central Zone 6 Field Office, unlock the door with Security Clearance 02, and open the Large Resource Crate in the padded room inside for an upgrade point. No fight, no puzzle — just a badge reader.
Crate 1: The Storage Room by the Field Office
Finding It on the Map
Open the map and switch to the Central Zone 6 view. The crate marker sits right beside the Field Office marker, and its description reads "A big box packed with rich rewards. 0/1." Set a marker on it if you want the waypoint on your HUD.
The Route In
- Leave the map, enter the courtyard beside the Field Office, and take the wide outdoor stairs up, past the armed guard standing at the top.
- At the platform, turn left and follow the path around the red container structure.
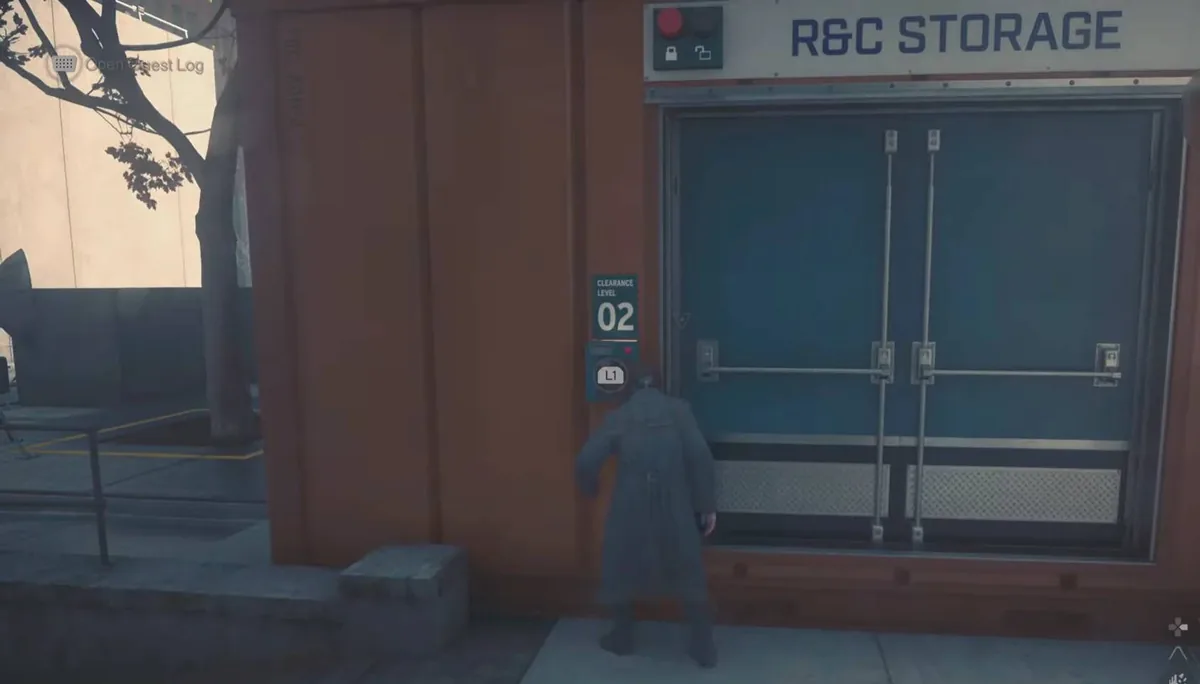
- Slip into the narrow side alley behind it. The target door is set into the container modules, marked in white lettering as the storage room.
Opening the Door
Interact with the keycard panel beside the door. It demands Security Clearance 02 — hold the interact button (L1 on PlayStation) and the door slides open. If the reader still shows a red lock, your keycard is not there yet: keep progressing the main story and return once your clearance rises.
The Pickup
Through the front office, into the padded inner room: the Large Resource Crate glows between banks of emergency lighting, with yellow arrows painted on the floor pointing the way. Open it for the reward.
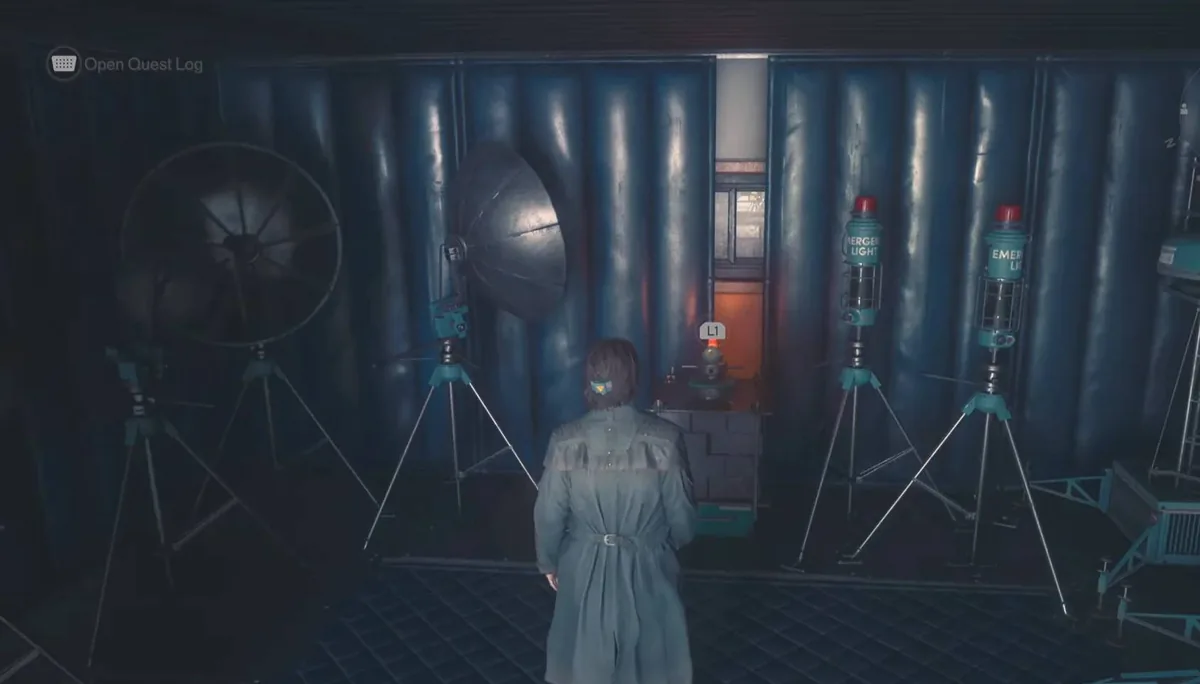
The reward is an upgrade point. The pickup banner names the item, shows your running total, and notes that three are needed for the upgrade to land — points only convert into a real tier once you hold three. And not every Large Resource Crate carries the same goods: the ones scattered around Downtown hold health upgrade points instead.
How do you know it worked? The banner pops, and the crate's map entry flips from 0/1 to collected. No banner means you opened the wrong container — standard crates in the same area only drop materials like Aberrant Debris.
Remember: three points bank the tier, but you still need the dark chamber lined with stone monoliths to actually spend them. Collecting alone raises nothing.
Crate 2: The Anomaly Factory Puzzle
Central Zone holds a second Large Resource Crate inside the Anomaly Factory, and this one takes far longer. No keycard this time — it is locked behind a charge-carrying puzzle that also asks you to open shortcut doors along the way.
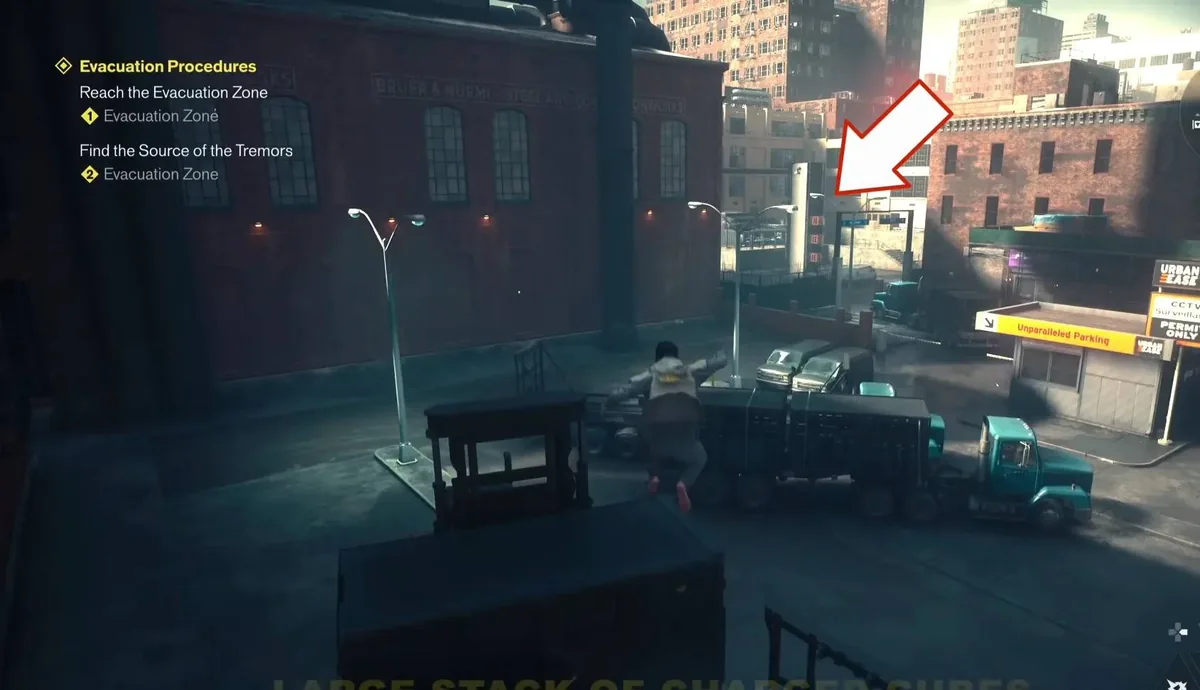
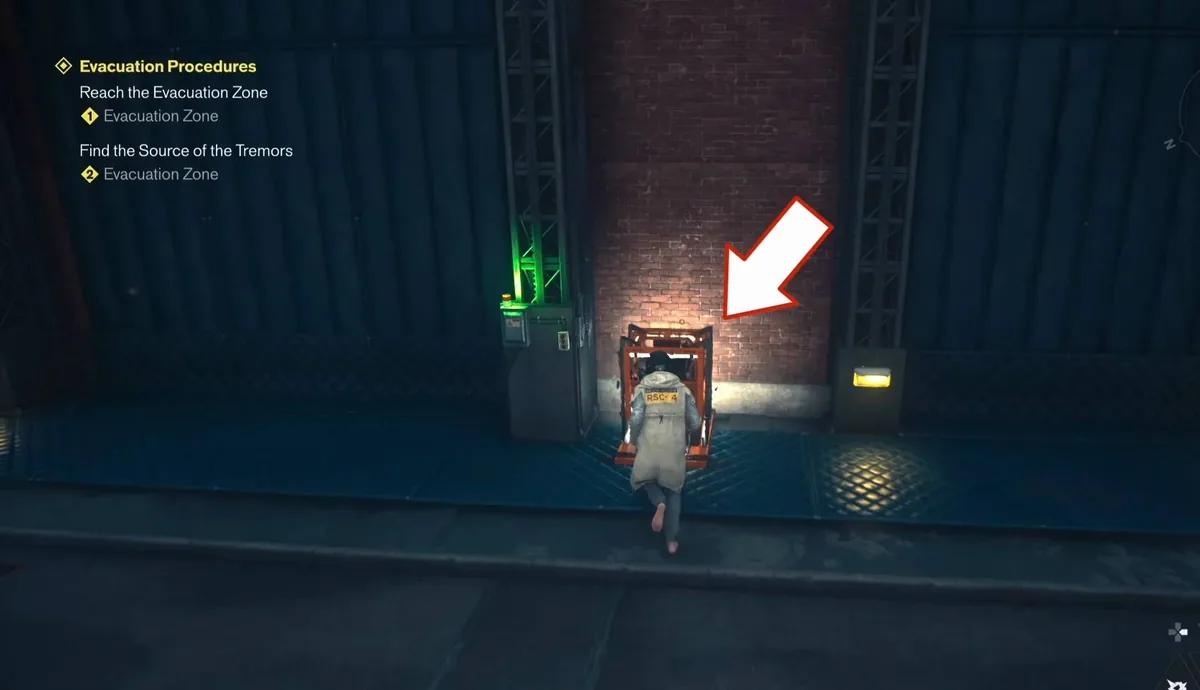
- From inside the factory, take the ground-floor door out to the street-side alley. Ride the yellow-edged industrial lift fixed to the brick wall up to the roof.
- Follow the rooftop pipes to a boarded-up entrance on the upper wall, smash the boards, and descend the unlit stairwell into the factory.
- Use the overhead walkway above the locked area to reach the next level, then open the red double doors from the inside and follow the corridor to the street door. Open it — both it and an earlier door become shortcuts later.
- Note the empty square socket on the inner wall, then exit through the street door. Across the intersection sits a huge pile of charged blocks.
- Activate the street-level socket on the wall until it glows, pick up the charge, carry it back through the now-unlocked doors, and seat it in the indoor wall socket.
- Retrieve the charge from the indoor socket, sprint through the upstairs shortcut door, and slot it into the socket outside the windowed office. The glass door unlocks.
- Step into the office and interact with the glowing crate on the desk for another upgrade point. A standard container behind the nearby generator hides Aberrant Debris, if you want it.
Wrap-Up
Clear both Central Zone crates in one loop and you hold two-thirds of a full energy tier, with the Field Office crate quick enough to fold into any visit to the area. If your keycard has not reached Security Clearance 02 yet, drop a map marker on the storage door and collect it on your next pass.